


Quick Start Manual
A "PDF" Version is available Here
Before you get started, we highly recommend that you restore your BeepBox alti-vario to full charge.
To do this, plug the supplied Micro-USB cable into the USB Port. The Status Indicator will light Red to show the device is charging. When the battery is almost full the Status Indicator will change to Amber. At full charge the Status Indicator will change to Green.
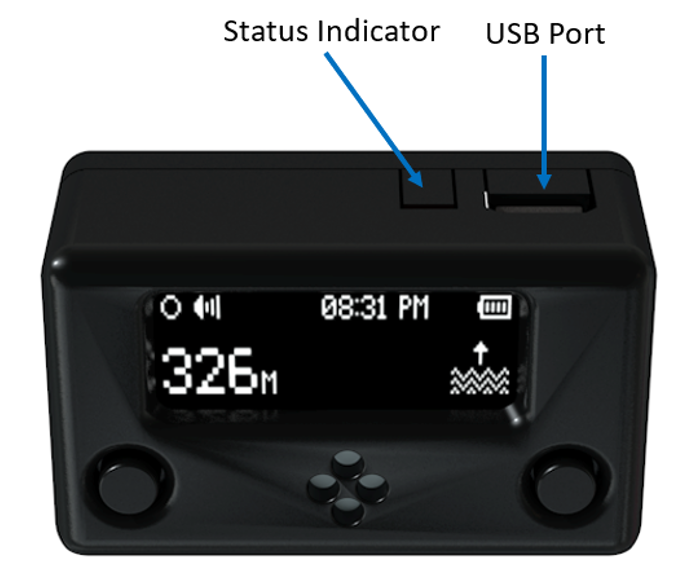
You can familiarise yourself with your BeepBox whilst it is charging. Locate the Power Switch on the left side of the device and slide it to the On position. To protect the battery, always remember to turn off your BeepBox when it is not in use.
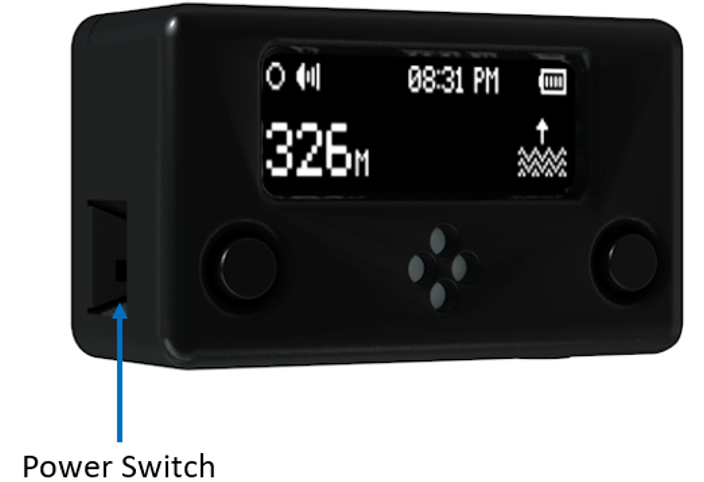
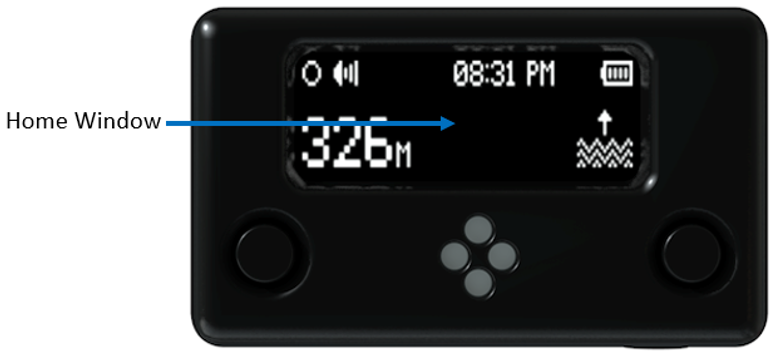
Every time your BeepBox is powered on it displays the BeepBox logo whilst it performs a number of routines to calibrate the pressure sensor and check the status of various hardware to ensure there are no errors. When these routines have finished (a couple of seconds) the Home Window will load.
Throughout the entire development process, we have focussed on making the BeepBox as user friendly as possible. To this end, the BeepBox only has two buttons; the Window Button allows you to scroll through the different windows, and the Set Button allows you to interact with the current window.
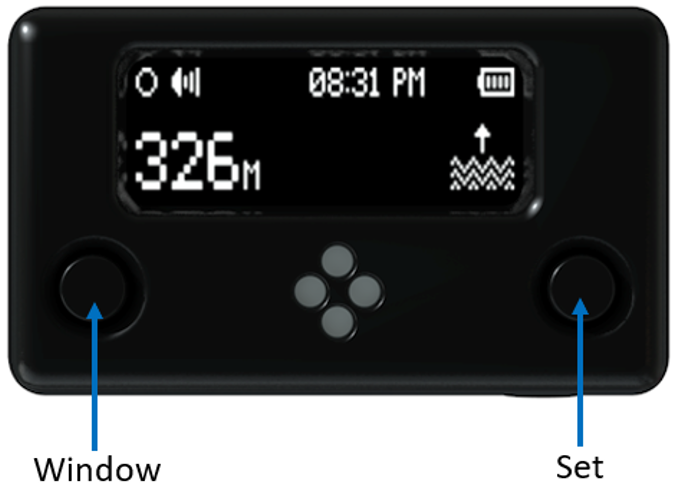
Use the Window Button to cycle through the main windows. The windows will appear in this order:
| 1. | HOME | - | Completely customisable window which gives quick access to a number of parameters |
| 2. | ALTITUDE | - | hows QNH, QNE and QFE Altitudes as well as Cumulative Elevation Gain |
| 3. | VARIO | - | Shows current Lift/Sink Rate as well as Max Lift/Sink Rate |
| 4. | BAROMETER | - | Shows a barometric air pressure graph for the last hour, as well as current pressure |
| 5. | CLOCK | - | Real time Clock |
| 6. | STOP-WATCH | - | Stopwatch used to measure flight duration |
| 7. | TIMER | - | Countdown Timer. Useful for powered aircraft |
| 8. | TEMPERATURE | - | Shows current temperature in Celsius and Fahrenheit |
| 9. | BATTERY CHARGE | - | Battery Charge Level |
| 10. | FLIGHT MEMORY | - | Flight Recorder showing details of your last 10 flights |
| 11. | ABOUT | - | Shows Firmware Version |
We’ll look at each of different windows in more detail later on so for now keep clicking the Window Button until you return the Home Window. Alternatively, turn the device off and back on again and it will automatically return to the Home Window.
By default, the Home Window shows your current altitude above sea level. Note that because this is measured using an air pressure sensor, the measurement is weather dependant. If the current altitude looks wrong, don’t worry, we’ll look at how to calibrate it later on.
For now, click the Set Button and you will see both the altitude and the altitude type icon change.
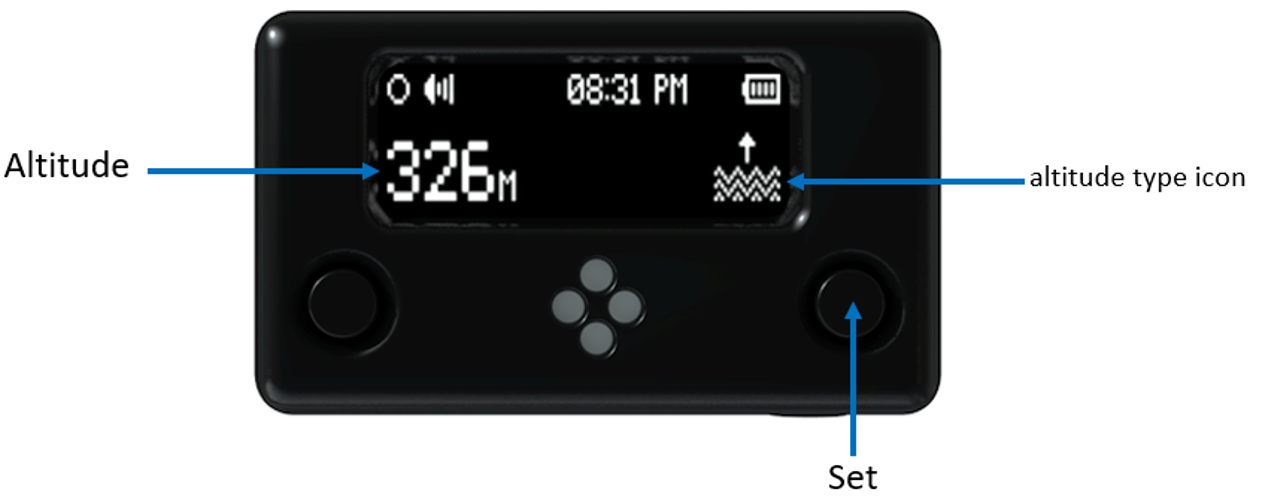
The different altitudes displayed are:
- QNH - Current Altitude Above Sea Level
- QNE - Current Altitude Above Mean Sea Level
- QFE - Altitude Above Take Off
- CUM - Cummulative Elevation Gain
- Vario
We’ll look at the different altitude modes later on but for now, keep clicking the Set Button until the Vario is displayed.
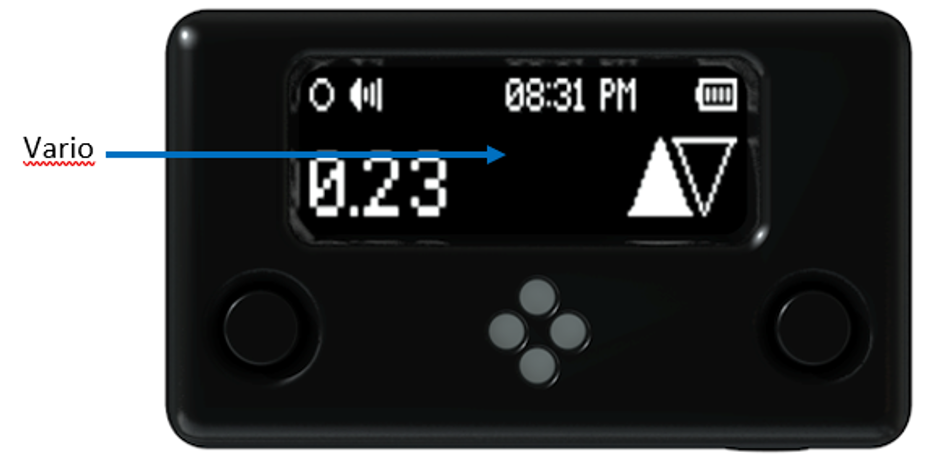
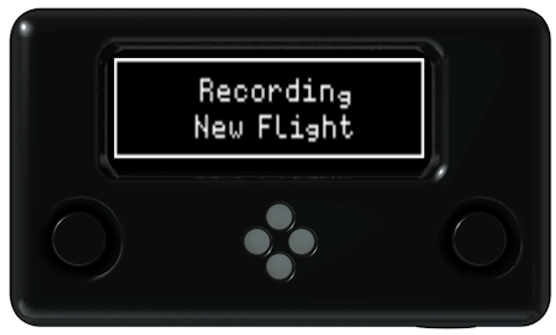
If you lift the BeepBox up and down, you will see the Vario change to show your current Lift/Sink Rate. Out of the box, the BeepBox has a setting enabled which prevents it from beeping whilst stood at take-off. Once it detects an altitude change of 3 meters, it will automatically start recording your flight and the audible vario will be enabled. Alternatively, you can start recording and enable the audio vario by holding down the Set Button for 1 second whilst on the Home Window. Go ahead and do that now. Make sure you are on the Home Window and then hold down the Set Button until a “Recording New Flight” message appears.
The BeepBox will now start beeping. It has three distinctive tones; Lift Tone, Sink Tone, Thermal Finder Tone. If the BeepBox remains stationary it will chirp. This is a useful feature that lets you know you are maintaining height and that there is light lift around. Lift the BeepBox up and down to familiarise yourself with the lift and sink tones.
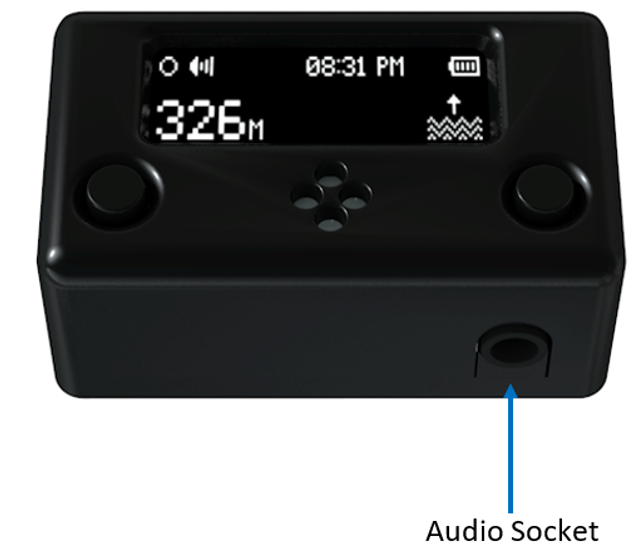
It is possible to plug in a pair of headphones or external beeper into the 3.5mm Audio Socket.
Hold down the Set Button again to stop recording and disable the audible vario. Your “Flight” will be saved to memory. Use the Window Button to scroll to the Flight Memory Window.
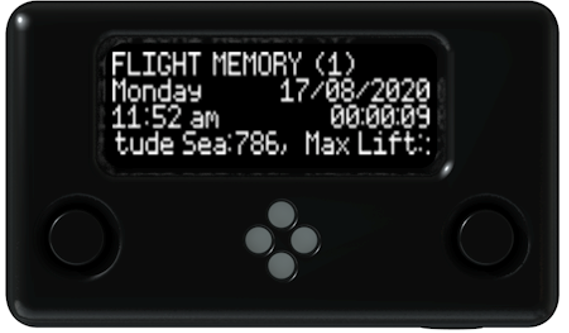
You can scroll through your last ten flights by clicking on Set Button. To clear the Flight Memory, hold down the Set Button for one second.
Conclusion:
- The Window Button scrolls through the different windows.
- The Set Button interacts with the current window.
- Both buttons have a short click action, and a long press (1 second) action.
- The BeepBox stays quiet whilst you are stood at takeoff. Once it detects a change of 3 meters, it will automatically start recording and enable the audible vario.
- To protect the battery, you should always ensure your BeepBox is fully charged before use and make sure it is switched off when not in use.
- To get the most out of your BeepBox, please read the Full Instructions.
